


In this article I will demonstrate the practical usage of Ansible Roles by covering different use cases.
What is Ansible Role?
Ansible role is a very important concept as we continue our automation journey with Ansible. So far we were writing individual playbooks to run or automate various tasks on client systems. By using Ansible Roles we can break our playbooks in multiple files which simplifies complex looking lengthy playbooks. It allows us to group the tasks, variables, handlers and other Ansible components in a structured manner.
Ansible roles are independent of each other. By using Ansible Roles we can reuse our playbooks for multiple deployments of different configuration requirements .
Ansible Roles can be shared across the community via Ansible Galaxy. And the end user just mention your Role name in his playbook and can use it for his deployments instead of writing it himself.
What is Ansible Galaxy?
Ansible Galaxy is a repository for Ansible Roles that are available to drop directly into your Playbooks to streamline your automation projects.
Here you can find almost all type of roles whether its an application installation or reusable roles for server configurations. A lot of people across the globe share roles in the Ansible Galaxy repository.
Creating an Ansible Role using ansible-galaxy
To understand the directory structure of an Ansible role let us first learn how we can create or initialize an Ansible role.
We can use the ansible-galaxy command which is default installed with Ansible, you can create a role with the init command. For example, the following command will create a role directory structure called webserver in the current working directory:
roles $ ansible-galaxy init webserver --offline
- Role webserver was created successfully
Ansible Role directory structure
The Role initialized as part of previous section's command will contain following:
webserver $ tree
.
├── defaults
│   └── main.yml
├── files
├── handlers
│   └── main.yml
├── meta
│   └── main.yml
├── README.md
├── tasks
│   └── main.yml
├── templates
├── tests
│   ├── inventory
│   └── test.yml
└── vars
    └── main.yml

8 directories, 8 files
Let us understand them one by one.
defaults– This directory contains the default variables for the role. They have the lowest priority of any variables available, and can be easily overridden by any other variable, including inventory variables.files– This directory contains files which will be deployed to the remote nodes by this role.handlers– This directory contains handlers which may be used by this role or outside this role.meta– This directory contains the metadata for the role, including role dependencies.tasks– This directory contains the main list of tasks that the role is going to execute.templates- This directory contains templates that the role is going to deploy.tests- This is for the unit testing purpose of your Ansible roles. It contains a sample YAML playbook file and a sample inventory file.vars– This directory contains other variables for the role.README.md- It is a simple plain text file that contains the basic information of the files and guidelines on using the Ansible Role.
Ansible searches for the files like
main.yml(akamain.yamlandmain) within all the directories part of the Ansible role.One can always add files other then
main.ymlin some directories such as platform specific task files or variable files and refer to them in the tasks/main.yml file.
To learn more about Ansible Variables and their priority orders please refer my article here .
Role Names Syntax
Role names are limited to lowercase word characters (i.e., a-z, 0-9) and ‘_’. No special characters are allowed, including ‘.’, ‘-‘, and space.
Ansible Role for Web Server Deployment
In this part of our article I will break an Ansible playbook which deploys and configure httpd server on our CentOS clients to an independent and reusable Ansible role.
Here is our playbook.
---
- hosts: worker1
  become: yes
  vars:
    httpd_port: 8080
  tasks:

  - name: Install httpd Package
    yum: name=httpd state=latest

  - name: Change http port to 8080
    lineinfile:
      path: /etc/httpd/conf/httpd.conf
      regexp: '^Listen '
      insertafter: '^#Listen '
      line: Listen {{ httpd_port }}

  - name: Copy the customized index.html file
    copy: src=index.html dest=/var/www/html
    notify:
    - restart and enable httpd

  handlers:
    - name: restart and enable httpd
      become: true
      service:
        name: httpd
        state: restarted
        enabled: yes
First let us verify if our individual playbook execution is successful. The content of index.html file which we are copying over to our client.
roles $ cat index.html
Hello LearnCodeOnline!
Lets execute the playbook.
roles $ ansible-playbook -i myinventory httpd_deployment.yml -kK
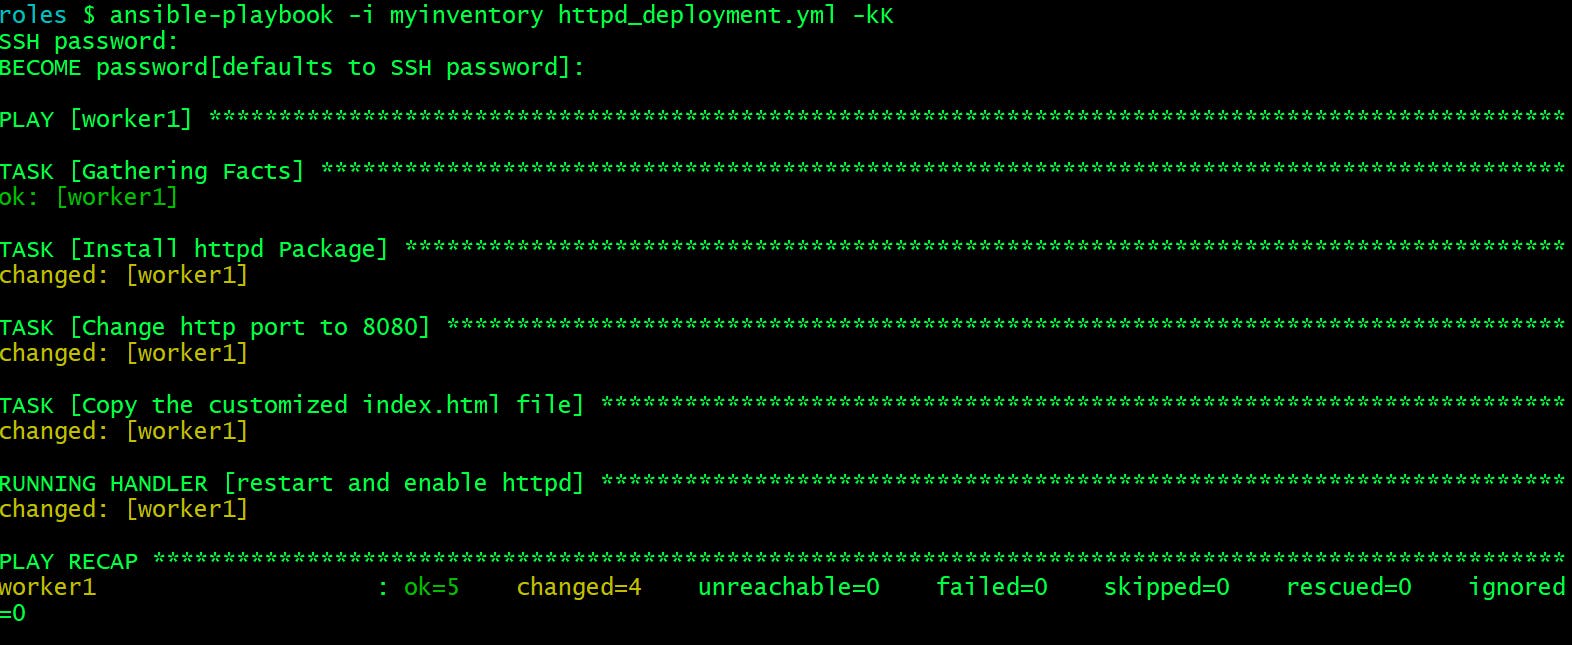
Verify the deployment by querying the worker1 node at port 8080.
roles $ curl worker1:8080
Hello LearnCodeOnline!
It's working as expected.
Let us start creating a role out of it.
- Break tasks in individual files
install.yml ->
---
- name: Install webserver Package
  yum: name={{ package_name }} state=latest
configure_httpd.yml ->
---
- name: Copy index.html file to remote node
  copy: src=files/index.html dest={{ document_root }}
  notify:
  - restart and enable webserver service

- name: Change http port to 8080
  lineinfile:
    path: "{{ webserver_conf_file }}"
    regexp: '^Listen '
    insertafter: '^#Listen '
    line: Listen {{ webserver_port }}
I will now refer both of these two files into our main.yml file.
main.yml ->
---
# tasks file for webserver
- import_tasks: install.yml
- import_tasks: configure_httpd.yml
- Create and copy
index.htmlfile to files directory
files $ ls
index.html

files $ cat index.html
Hello LearnCodeOnline!
- Update
handlersfilemain.yml
---
# handlers file for webserver
- name: restart and enable webserver service
  become: true
  service:
    name: "{{ service_name }}"
    state: restarted
    enabled: yes
- Update
defaultsdirectory filemain.ymlfile with variable names and values
---
# defaults file for webserver
webserver_conf_file: "/etc/httpd/conf/httpd.conf"
webserver_port: "80"
- Update
varsdirectory filemain.ymlfile with variable names and values
---
# vars file for webserver
package_name: "httpd"
service_name: "httpd"
document_root: "/var/www/html"
webserver_port: "8080"
- Update
metafilemain.yml
galaxy_info:
  author: Rakesh Jain
  description: Role to deploy web server on Linux
  company: LearnCodeOnline
...
...
You must notice that I have used variables where ever it was possible to make our role as independent and reusable as possible.
To cover
Variable Precedence orderI have declared the same variable namedwebserver_portin bothmain.ymlfiles withindefaultsdirectory as well as invarsdirectory. After execution of the role we will see what port value it takes.We are not copying any template file as part of this Role example. I will be covering that in a separate topic.
Here is the final tree structure of our role:
webserver $ tree
.
├── defaults
│   └── main.yml
├── files
│   └── index.html
├── handlers
│   └── main.yml
├── meta
│   └── main.yml
├── README.md
├── tasks
│   ├── configure_httpd.yml
│   ├── install.yml
│   └── main.yml
├── templates
├── tests
│   ├── inventory
│   └── test.yml
└── vars
    └── main.yml

8 directories, 11 files
Check the syntax of our role:
roles $ ansible-playbook -i myinventory deploy_webserver.yml --syntax-check

playbook: deploy_webserver.yml
Let's create our playbook which will make use of this role and deploy the Apache webserver on our remote worker node.
roles $ cat deploy_webserver.yml
---
 - hosts: worker1
   become: yes
   roles:
     - webserver
Time to execute our deployment playbook.
roles $ ansible-playbook -i myinventory deploy_webserver.yml -kK
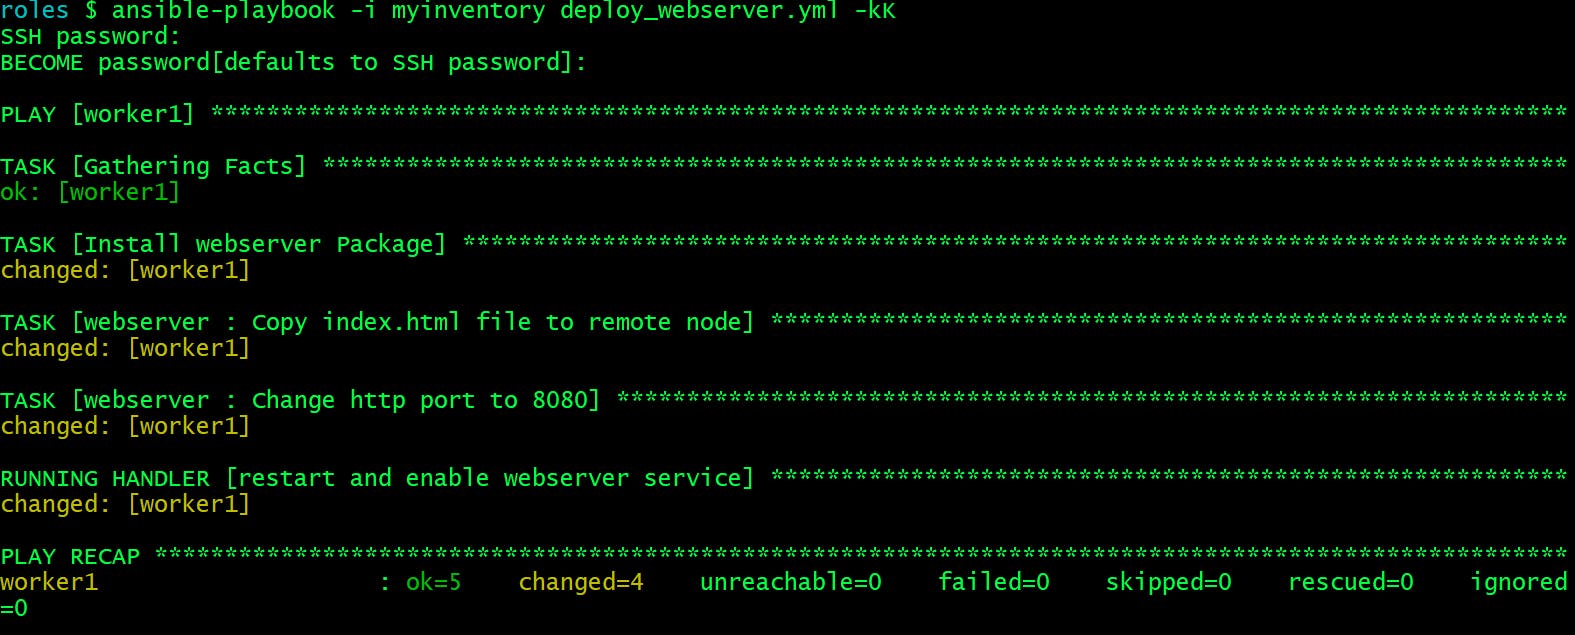
Awesome! That works without an error. All the tasks have been executed with their status changed.
Let's verify the deployment by querying the worker1 node at port 8080.
roles $ curl worker1:8080
Hello LearnCodeOnline!
Great! That works perfectly fine.
Querying worker1 at port
80fails. So its clear thatvarstakes preference overdefaults.roles $ curl worker1:80 curl: (7) Failed connect to worker1:80; Connection refused
That's all for this article.
I have covered almost all the topics which requires one to understand Ansible Roles in detail.
Hope you like the article. Stay Tuned for more and feel free to provide your feedback in comments section.
Thank you. Happy learning!