


Netflix, Amazon, Airbnb, you name it and there are high chances that you will find it on this list, most of your fav companies are using MySQL.
I know most of you will say I can spin up my NoSQL database and chill. But wait, MySQL is still the most used database on the planet and it's rock-solid. It offers advanced features and reliability far beyond a typical freeware project. So let’s start with the installation of this amazing relational database.
I will be installing MySQL on Linux (Ubuntu) and Windows machines. Don’t worry, I will also walk you through the MySQL workbench installation (GUI to interact with DB). So let’s get started...
Windows Installations
Head on to the MySQL download page ( mysql.com/downloads ) and down there you will find ‘MySQL Community (GLP) Downloads’, click on that
After that select “MySQL Installer for Windows”
Now here you get two options of the installer, both are the same but of different size. The one with the smaller size will download everything in one go and the bigger one comes with the whole bundle of it. We will go with small baby steps and install one by one by downloading the first (smaller) one.
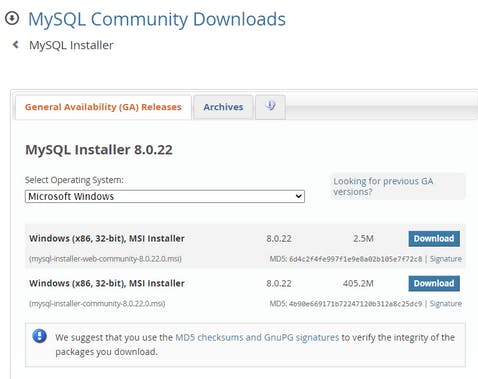
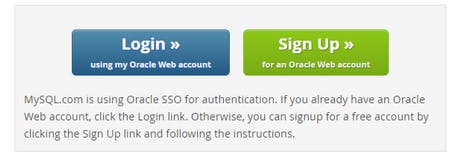
Don’t need to login start your download by clicking on “No thanks, just start my download “
Then run the downloaded installer and you will see something like this
And yes, we will go with the Developer Default Option then it will show a list of the products you need to download, so execute everything but put your eye on the first two i.e. Server and Workbench. Make sure you don’t ignore them, because that may
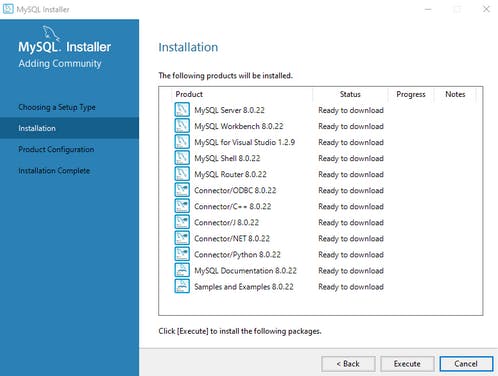
Now click the execute button and give some time to download everything, wait for all green checkmarks, and then go ahead
Note: If you are facing a problem while installing the products, you can download it separately from the installer
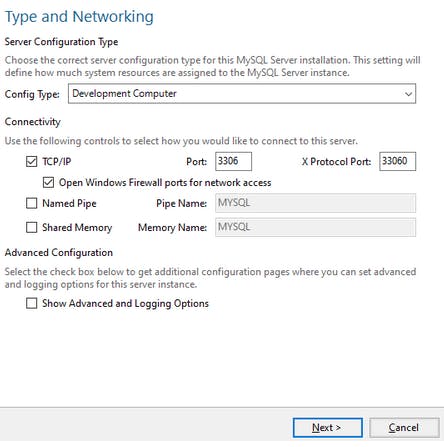
Further, choose “Standalone MySQL server” and go-ahead Then here you need to choose port and all, I’ll go with default 3306 and recommend you to do the same
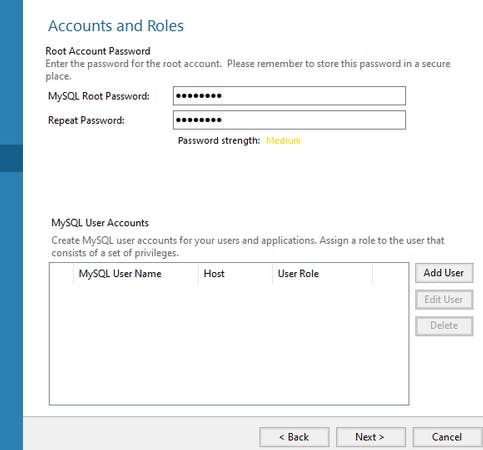
Also, click next on the recommended setting for the password and set a super cool password, and click next
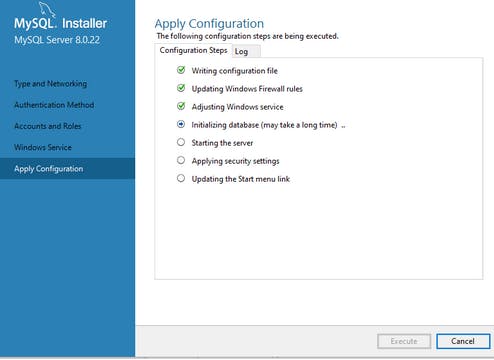
Now just go with the flow and click yes/next couple of time and then it shows you a list of the steps, execute it and, give it some time to go through them all
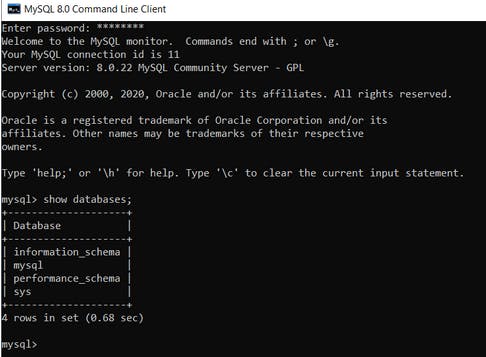
Now open MySQL Command line client with Start search, enter your password and booyah Run show databases; to check if it is working or not
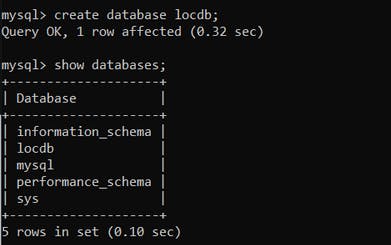
Lets create new database named “locdb”
create databases lcodb
show databases
And you are done with MySQL Installation on Windows machine, if you face any error, a simple google search will serve you well.
LINUX INSTALLATION
Before starting the installation you should update and upgrade the repository by running the following commands
 sudo apt update

 sudo apt upgrade
Now it's time to install MySQL. Run this command on your terminal
sudo apt install mysql-server

To check whether MySQL is installed properly or not, run this command:
mysql --version
To secure our MySQL with a password, run:
sudo mysql_secure_installation
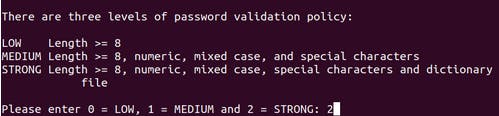
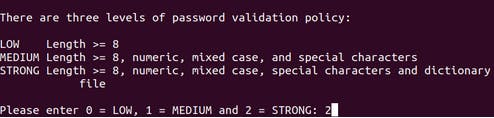
Here you need to choose password validation policy, choose according to your preference 0,1 or 2:
As you will set the password and enter It will ask you for four permissions feel free to type ‘y’ and go ahead. You will see this message
We have successfully installed MySQL and also secured it with a password. Now let’s get into the MySQL shell and play with the databases
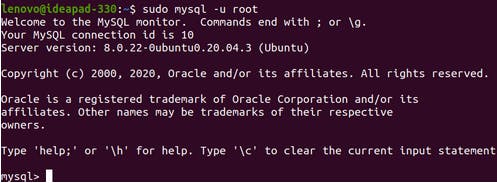
To open MySQL shell run:
sudo mysql -u root
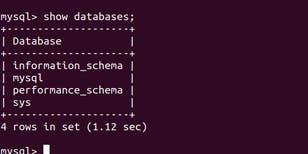
To get a list of default database(s), run:
show databases;
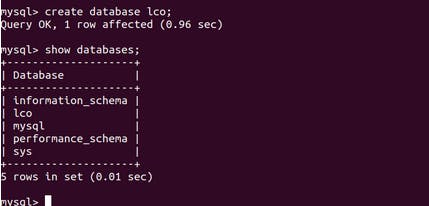
Let's create one database-
 create database lco;
show databases;
Here is our new lco database.
You successfully have installed MySQL server now its time to insalling Workbench which provides GUI.
Installing Workbench
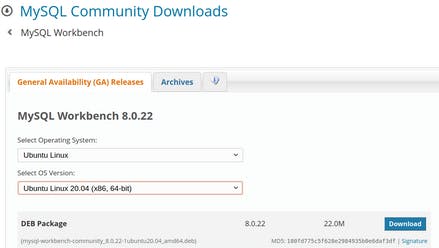
- Go to the dev.mysql.com/downloads/workbench
- Select your Linux machine (with proper version)
- Then download the DEB package
4.Just click on “No thanks, just start my download” at bottom

Navigate to the downloads and then run the following commands to install the DEB packages with all their dependencies.
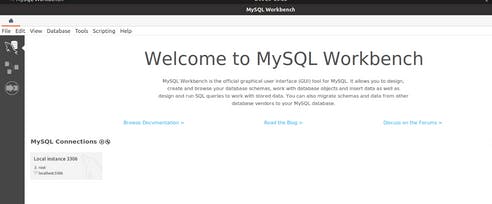
cd Downloads
sudo apt install ./mysql-workbench-community_8.0.22-1ubuntu20.04_amd64.deb
Kudos to you, Now launch your MySQL workbench
Uninstalling MySQL
Follow these commands to uninstall MySQL:
sudo systemctl stop mysql
sudo apt-get purge mysql-server mysql-client mysql-common mysql-server-core-* mysql-client-core-*
sudo rm -rf /etc/mysql /var/lib/mysql
sudo apt autoremove
sudo apt autoclean
To uninstall workbench safely from your machine, run:
sudo apt remove mysql-workbench-community
Thank You for reading this… Do share your valuable suggestions, I appreciate your honest feedback!