


If you have clearly observed real-world apps, Navigation Lists are the often used app development. In this article, we are Building Navigation Lists with Local JSON. The JSON we are using is from Rick and Morty API. Let's get started!.
Note: This tutorial assumes you have a basic understanding of SwiftUI and JSON API
Get Started
Create a New SwiftUI Project by naming it as Rick and Morty, and running that should show the Hello World message.
Add JSON
Download the characterData.json from the gist file and copy it to the Project.
 And in the dialog that appears, select “Copy items if needed” and the Rick and Morty target, and then click Finish.
Create a Data Model
Create a new Swift file named Character.swift . Now, define a Character structure with a few properties matching names of some of the keys in the characterData.json data file. Adding Codable conformance makes it easier to load data into the structure from the data file.
import Foundation

struct RMCharacter: Codable {
    let id: Int
    let name: String
    let status: String
    let species: String
    let gender: String

    struct Origin: Codable {
        let name: String
    }
    let origin: Origin

    struct Location: Codable {
        let name: String
    }
    let location: Location
    let image: String
    let created: String
}
Load JSON
Create a new Swift file named ModelData.swift and copy the following code to the file.
import Foundation

// Initialize here

func load<T: Decodable>(_ filename: String) -> T {
    let data: Data

    guard let file = Bundle.main.url(forResource: filename, withExtension: nil)
    else {
        fatalError("Couldn't find \(filename) in main bundle.")
    }

    do {
        data = try Data(contentsOf: file)
    } catch {
        fatalError("Couldn't load \(filename) from main bundle:\n\(error)")
    }

    do {
        let decoder = JSONDecoder()
        return try decoder.decode(T.self, from: data)
    } catch {
        fatalError("Couldn't parse \(filename) as \(T.self):\n\(error)")
    }
}
load(_:)method fetches JSON data with a given name from the app’s main bundle.- The load method relies on the return type’s conformance to the Codable protocol.
- Create an array of characters that you initialize from characterData.json.
// Replace with`Initialize here` Comment above
var rmCharacters: [RMCharacter] = load("characterData.json")
load(_:) in the ModelData file is a generic function that can be reusable.
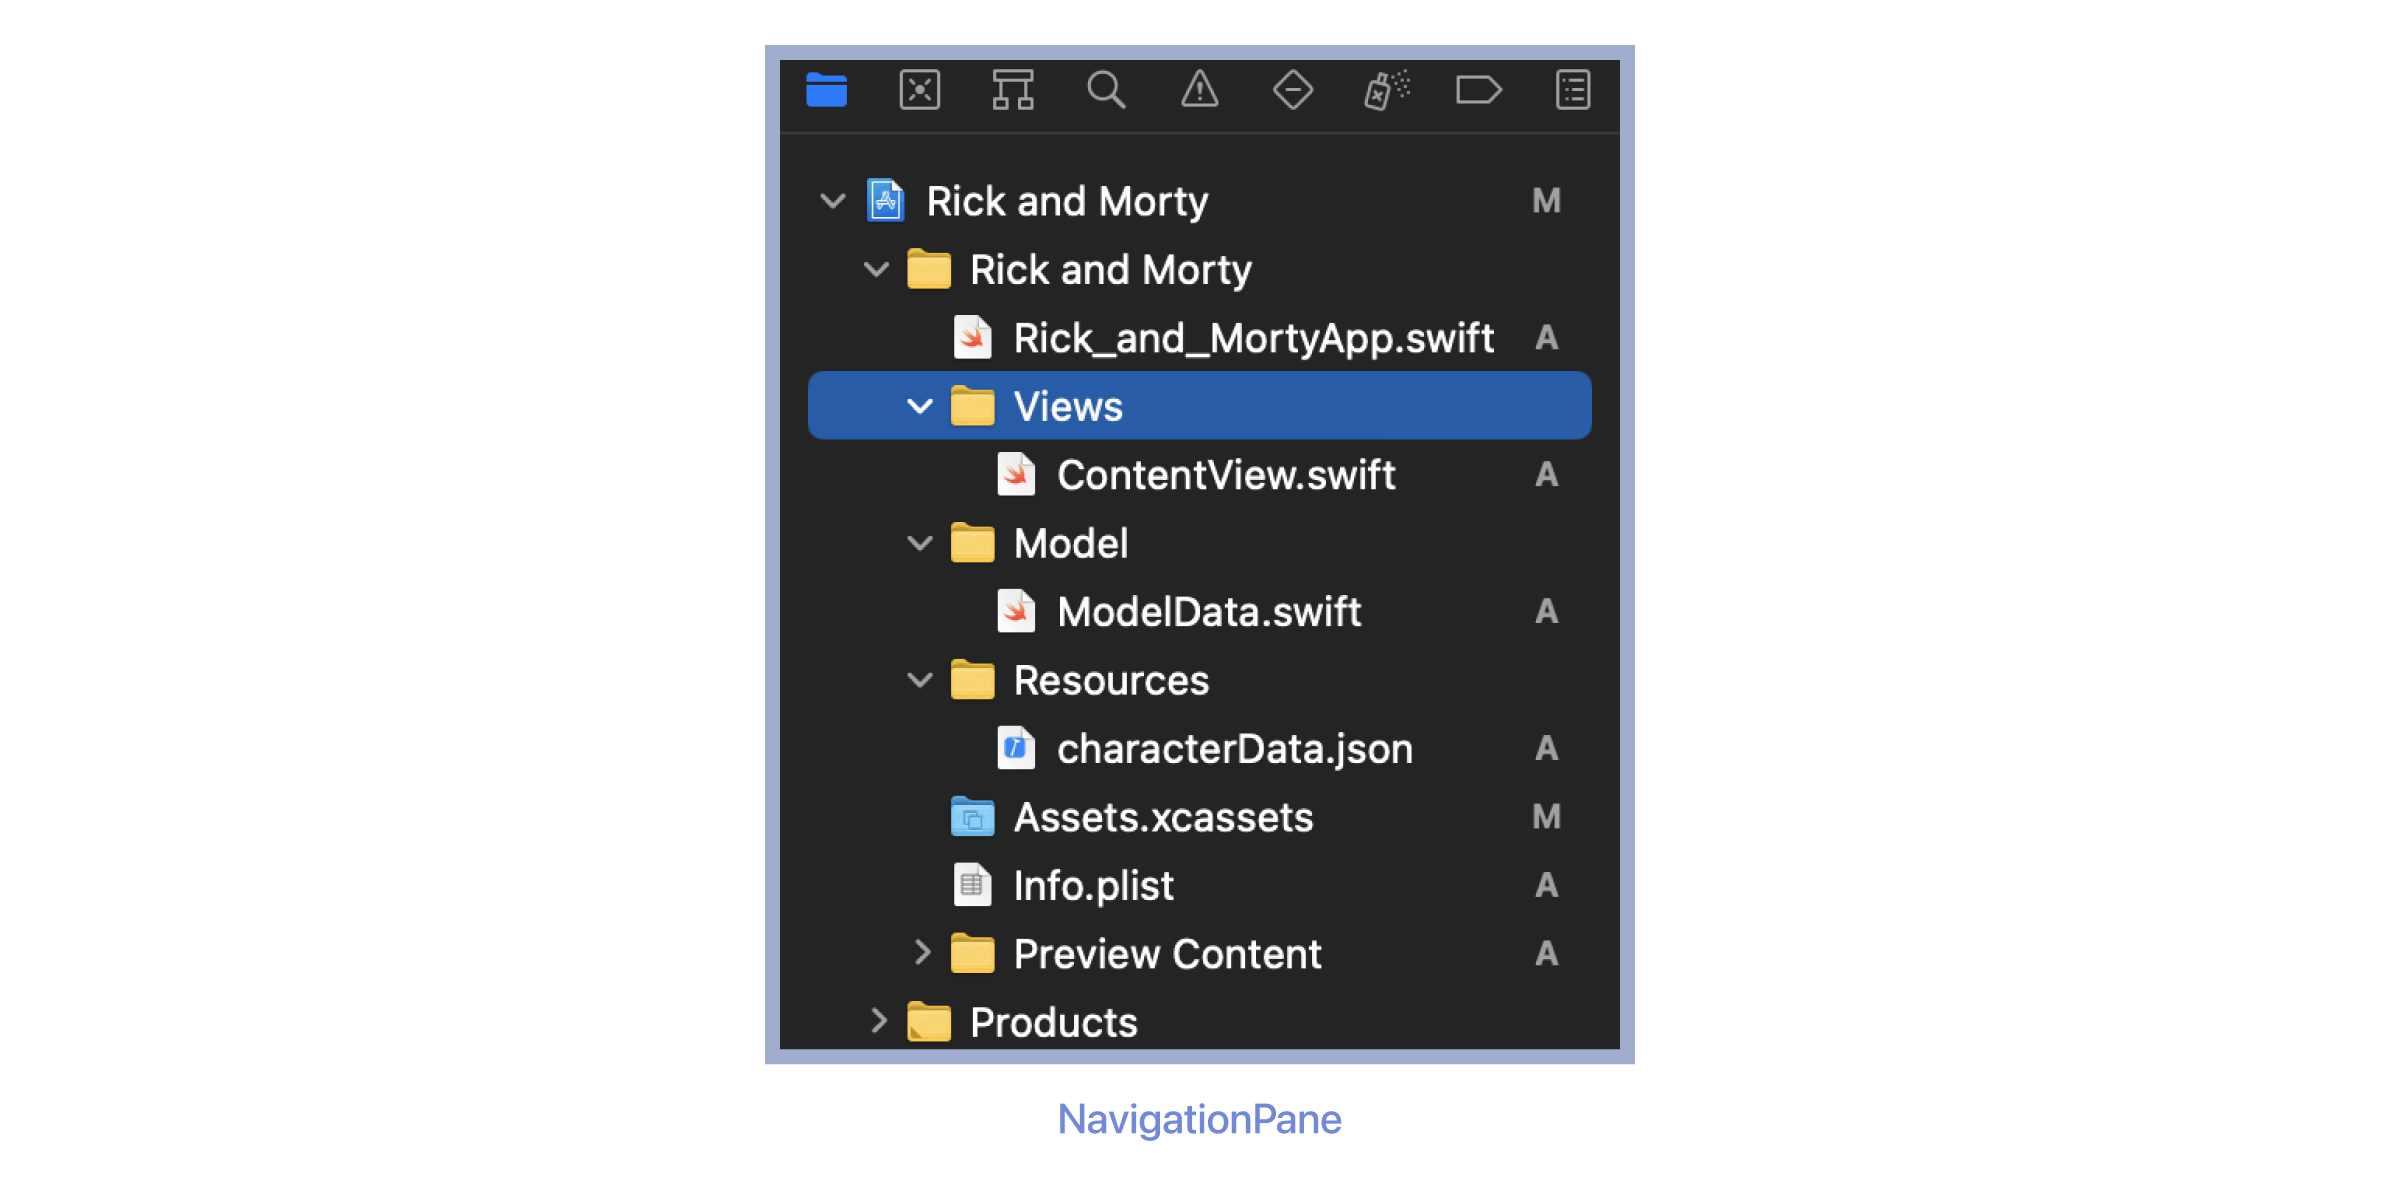
Before moving on, group related files together to make it easier to manage your growing project.
Create a Row View
We are building a row view for displaying details about each character. This row view stores information in a property for the character it displays so that one view can display any character. Later, you’ll combine multiple rows into a list of characters.
Create a new SwiftUI view named CharacterRow.swift and copy the following code.
import SwiftUI
import SDWebImageSwiftUI

struct CharacterRow: View {
    // 1
    var character: RMCharacter

    var body: some View {
        // 2
        HStack {
            // 3
            WebImage(url: URL(string: character.image))
                .resizable()
                .scaledToFit()
                .frame(width: 50, height: 50, alignment: .center)
                .clipShape(RoundedRectangle(cornerRadius: 20.0), style: FillStyle())
            // 4
            VStack(alignment: .leading) {
                Text(character.name)
                    .font(.title3)
                Text(character.species)
                    .font(.footnote)
                    .foregroundColor(.secondary)
            }
            Spacer()
        }.padding()
    }
}

struct CharacterRow_Previews: PreviewProvider {
    static var previews: some View {
        CharacterRow(character: rmCharacters[0])
    }
}
- Add a character as a stored property of CharacterRow.
- Create an HStack having two views and a Spacer at the end.
WebImageview, which loads images from a URL asynchronously usingSDWebImageSwiftUI Package- Create a VStack having details of the character(name and species).
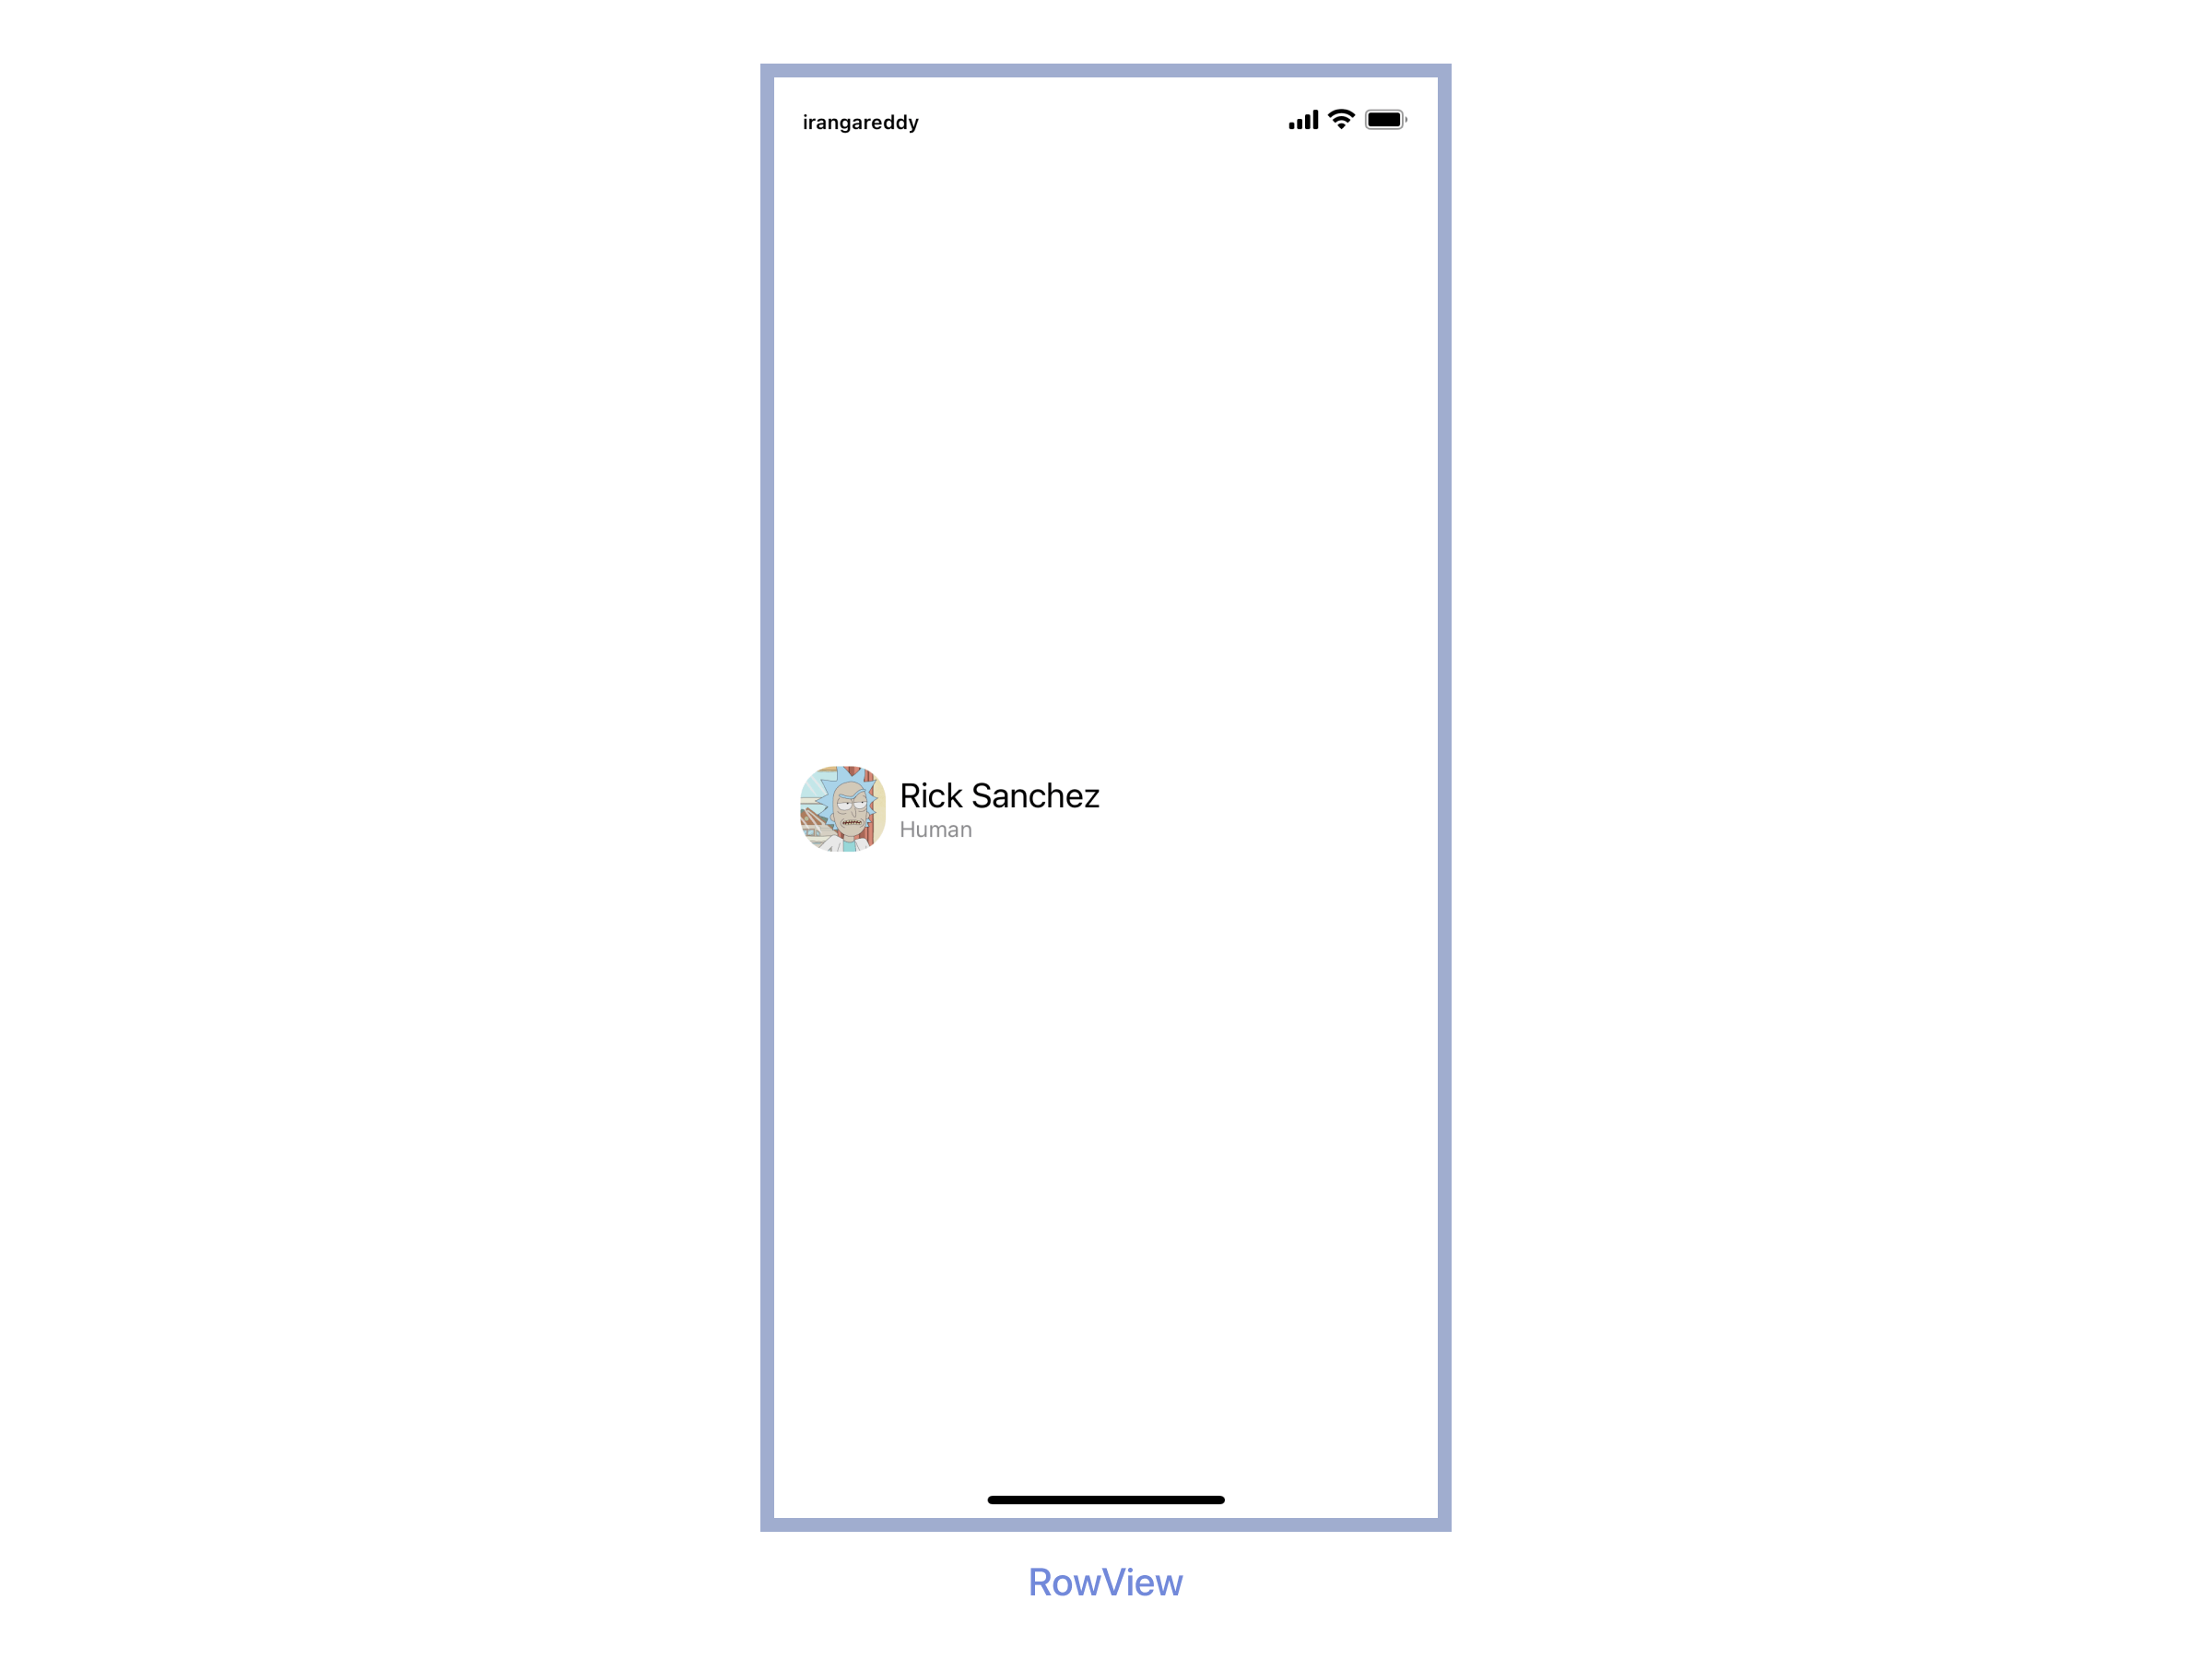
Note: When you add the character property, the preview stops working because the CharacterRow type needs a character instance during initialization. In the previews static property of CharacterRow_Previews, add the character parameter to the CharacterRow initializer, specifying the first element of the `rmCharacters` array.
Note: Before building the app. Change the view in ContentView.
Build and run.
Dynamic Lists
Create a new SwiftUI view named CharacterList.swift and copy the following code.
struct CharacterList: View {
    var body: some View {
        // 1
        List(rmCharacters,id: \.id) { character in
            // 2
            CharacterRow(character: character)
        }
    }
}
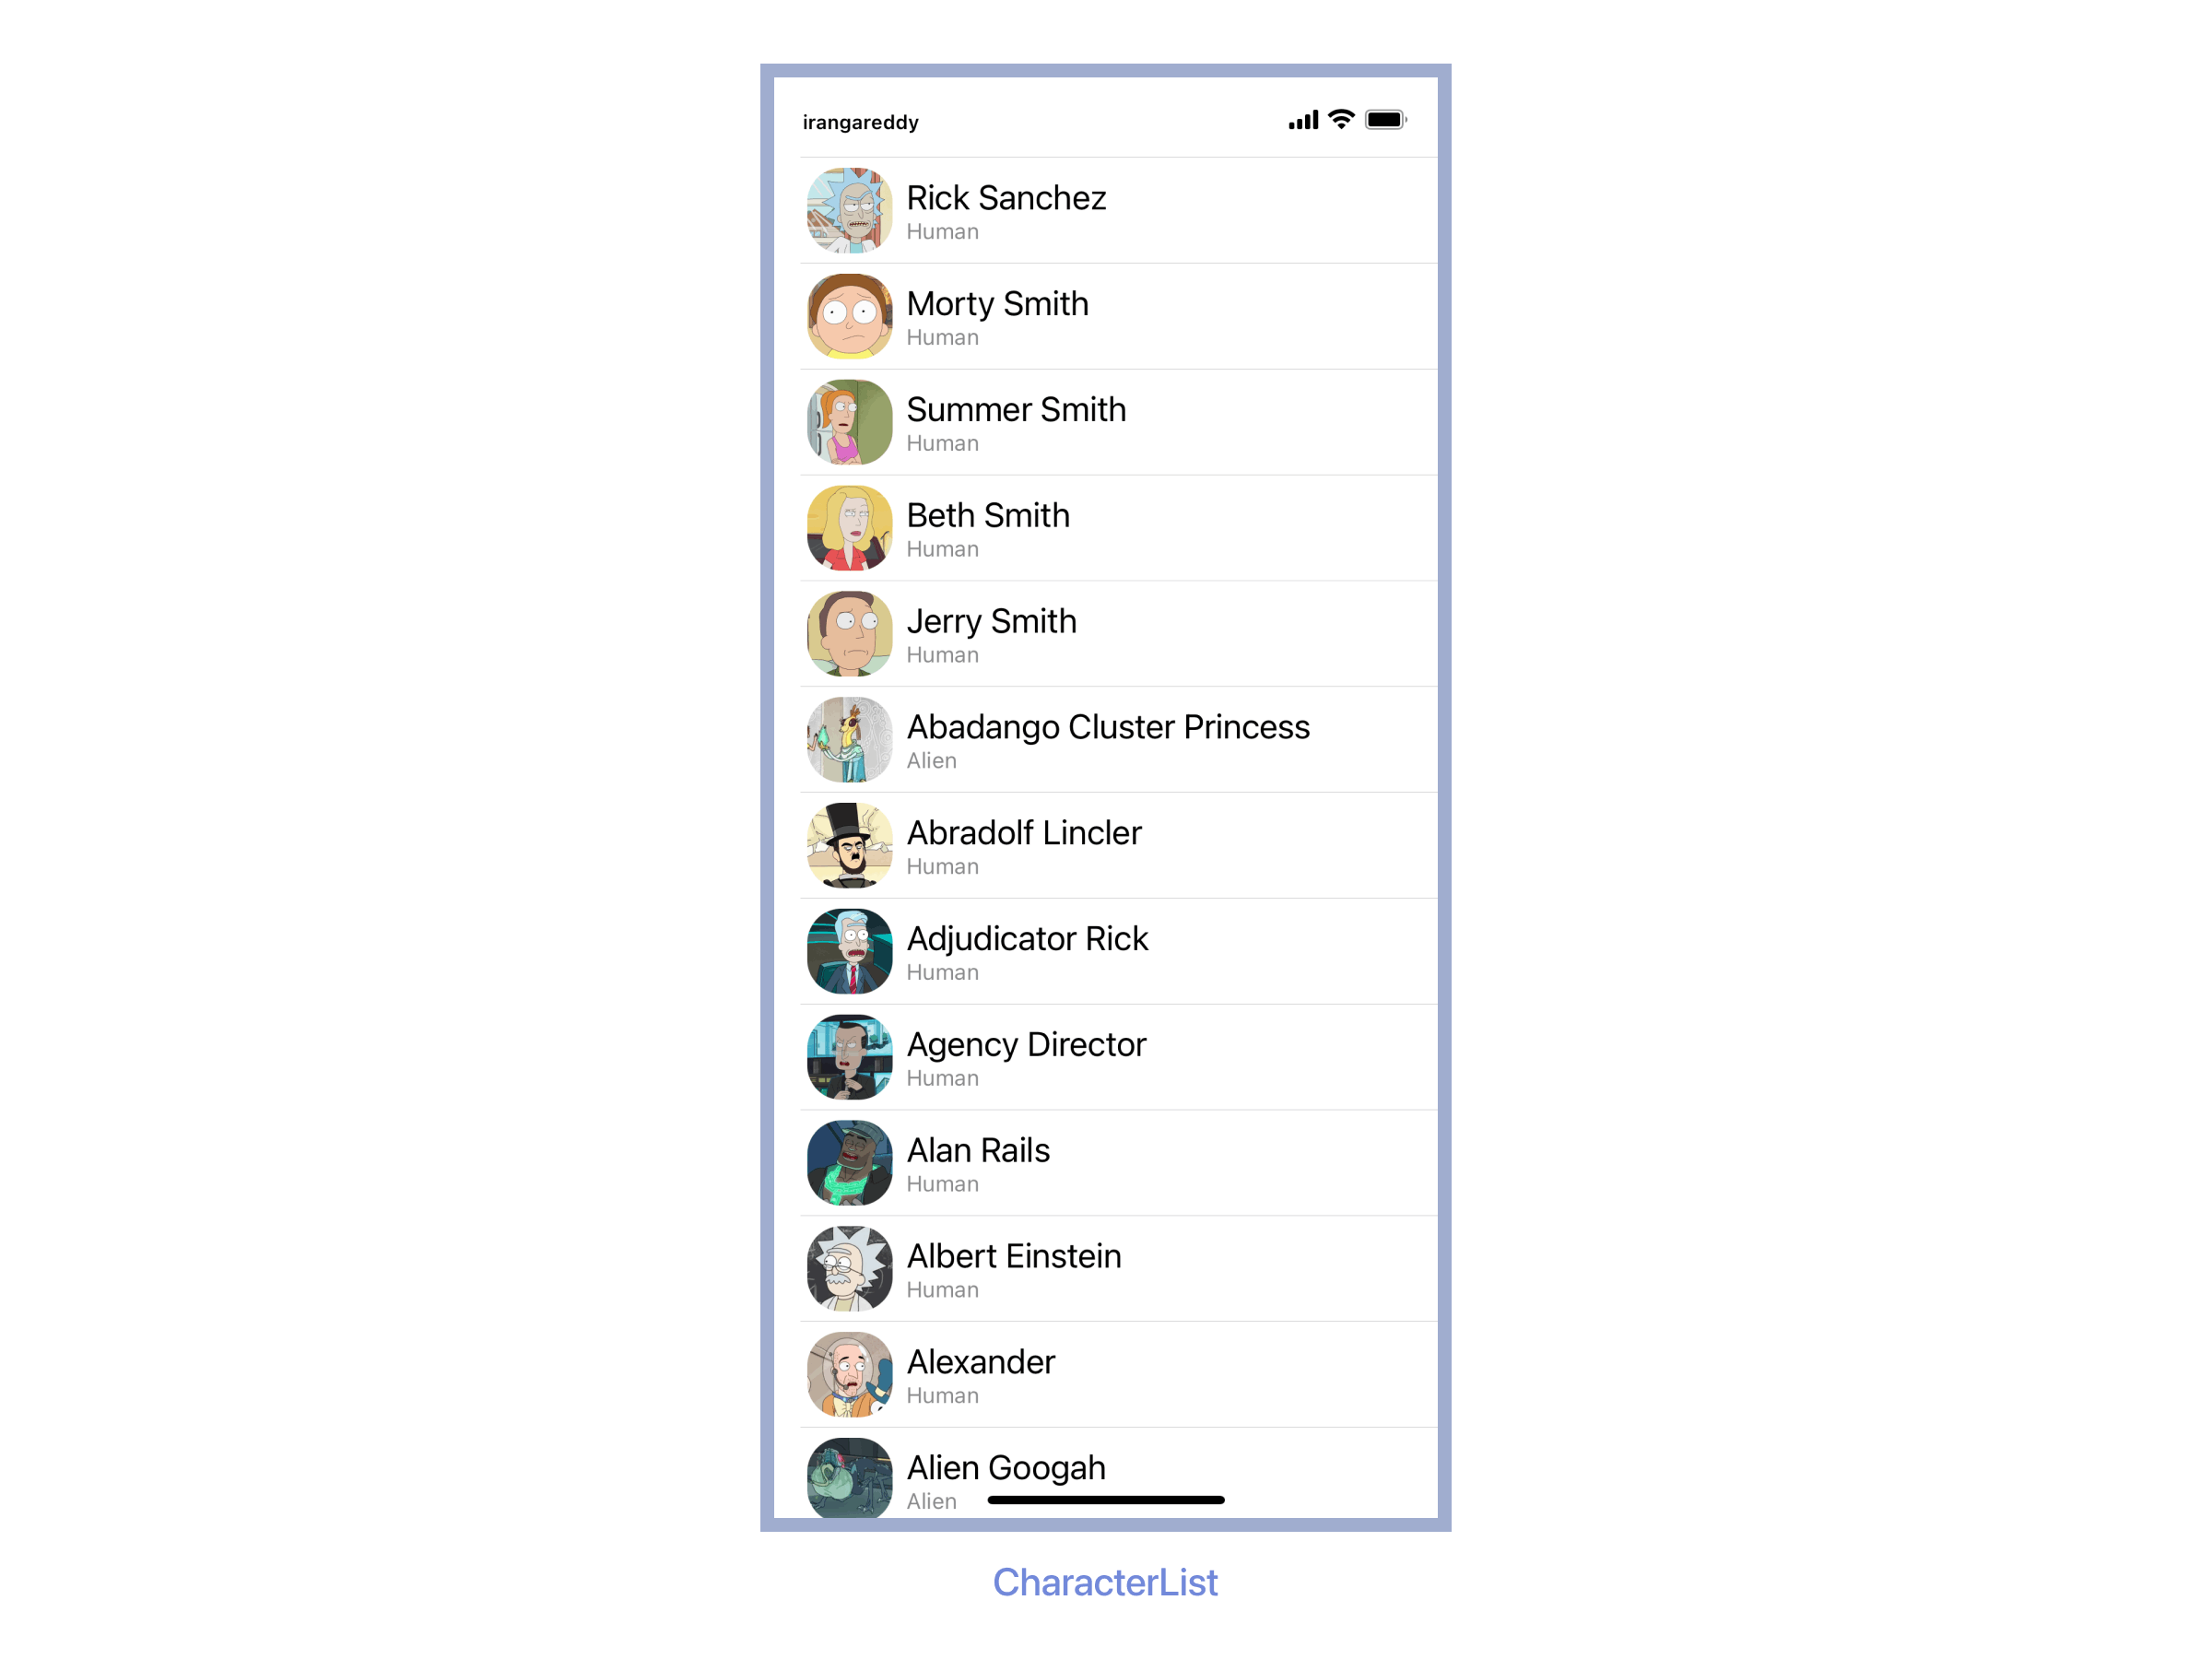
rmCharacterscollection is passed into a list along with anidproperty. So, that helps to identify each element uniquely.- Complete the dynamically-generated list by returning a CharacterRow from the closure.
Build and run.
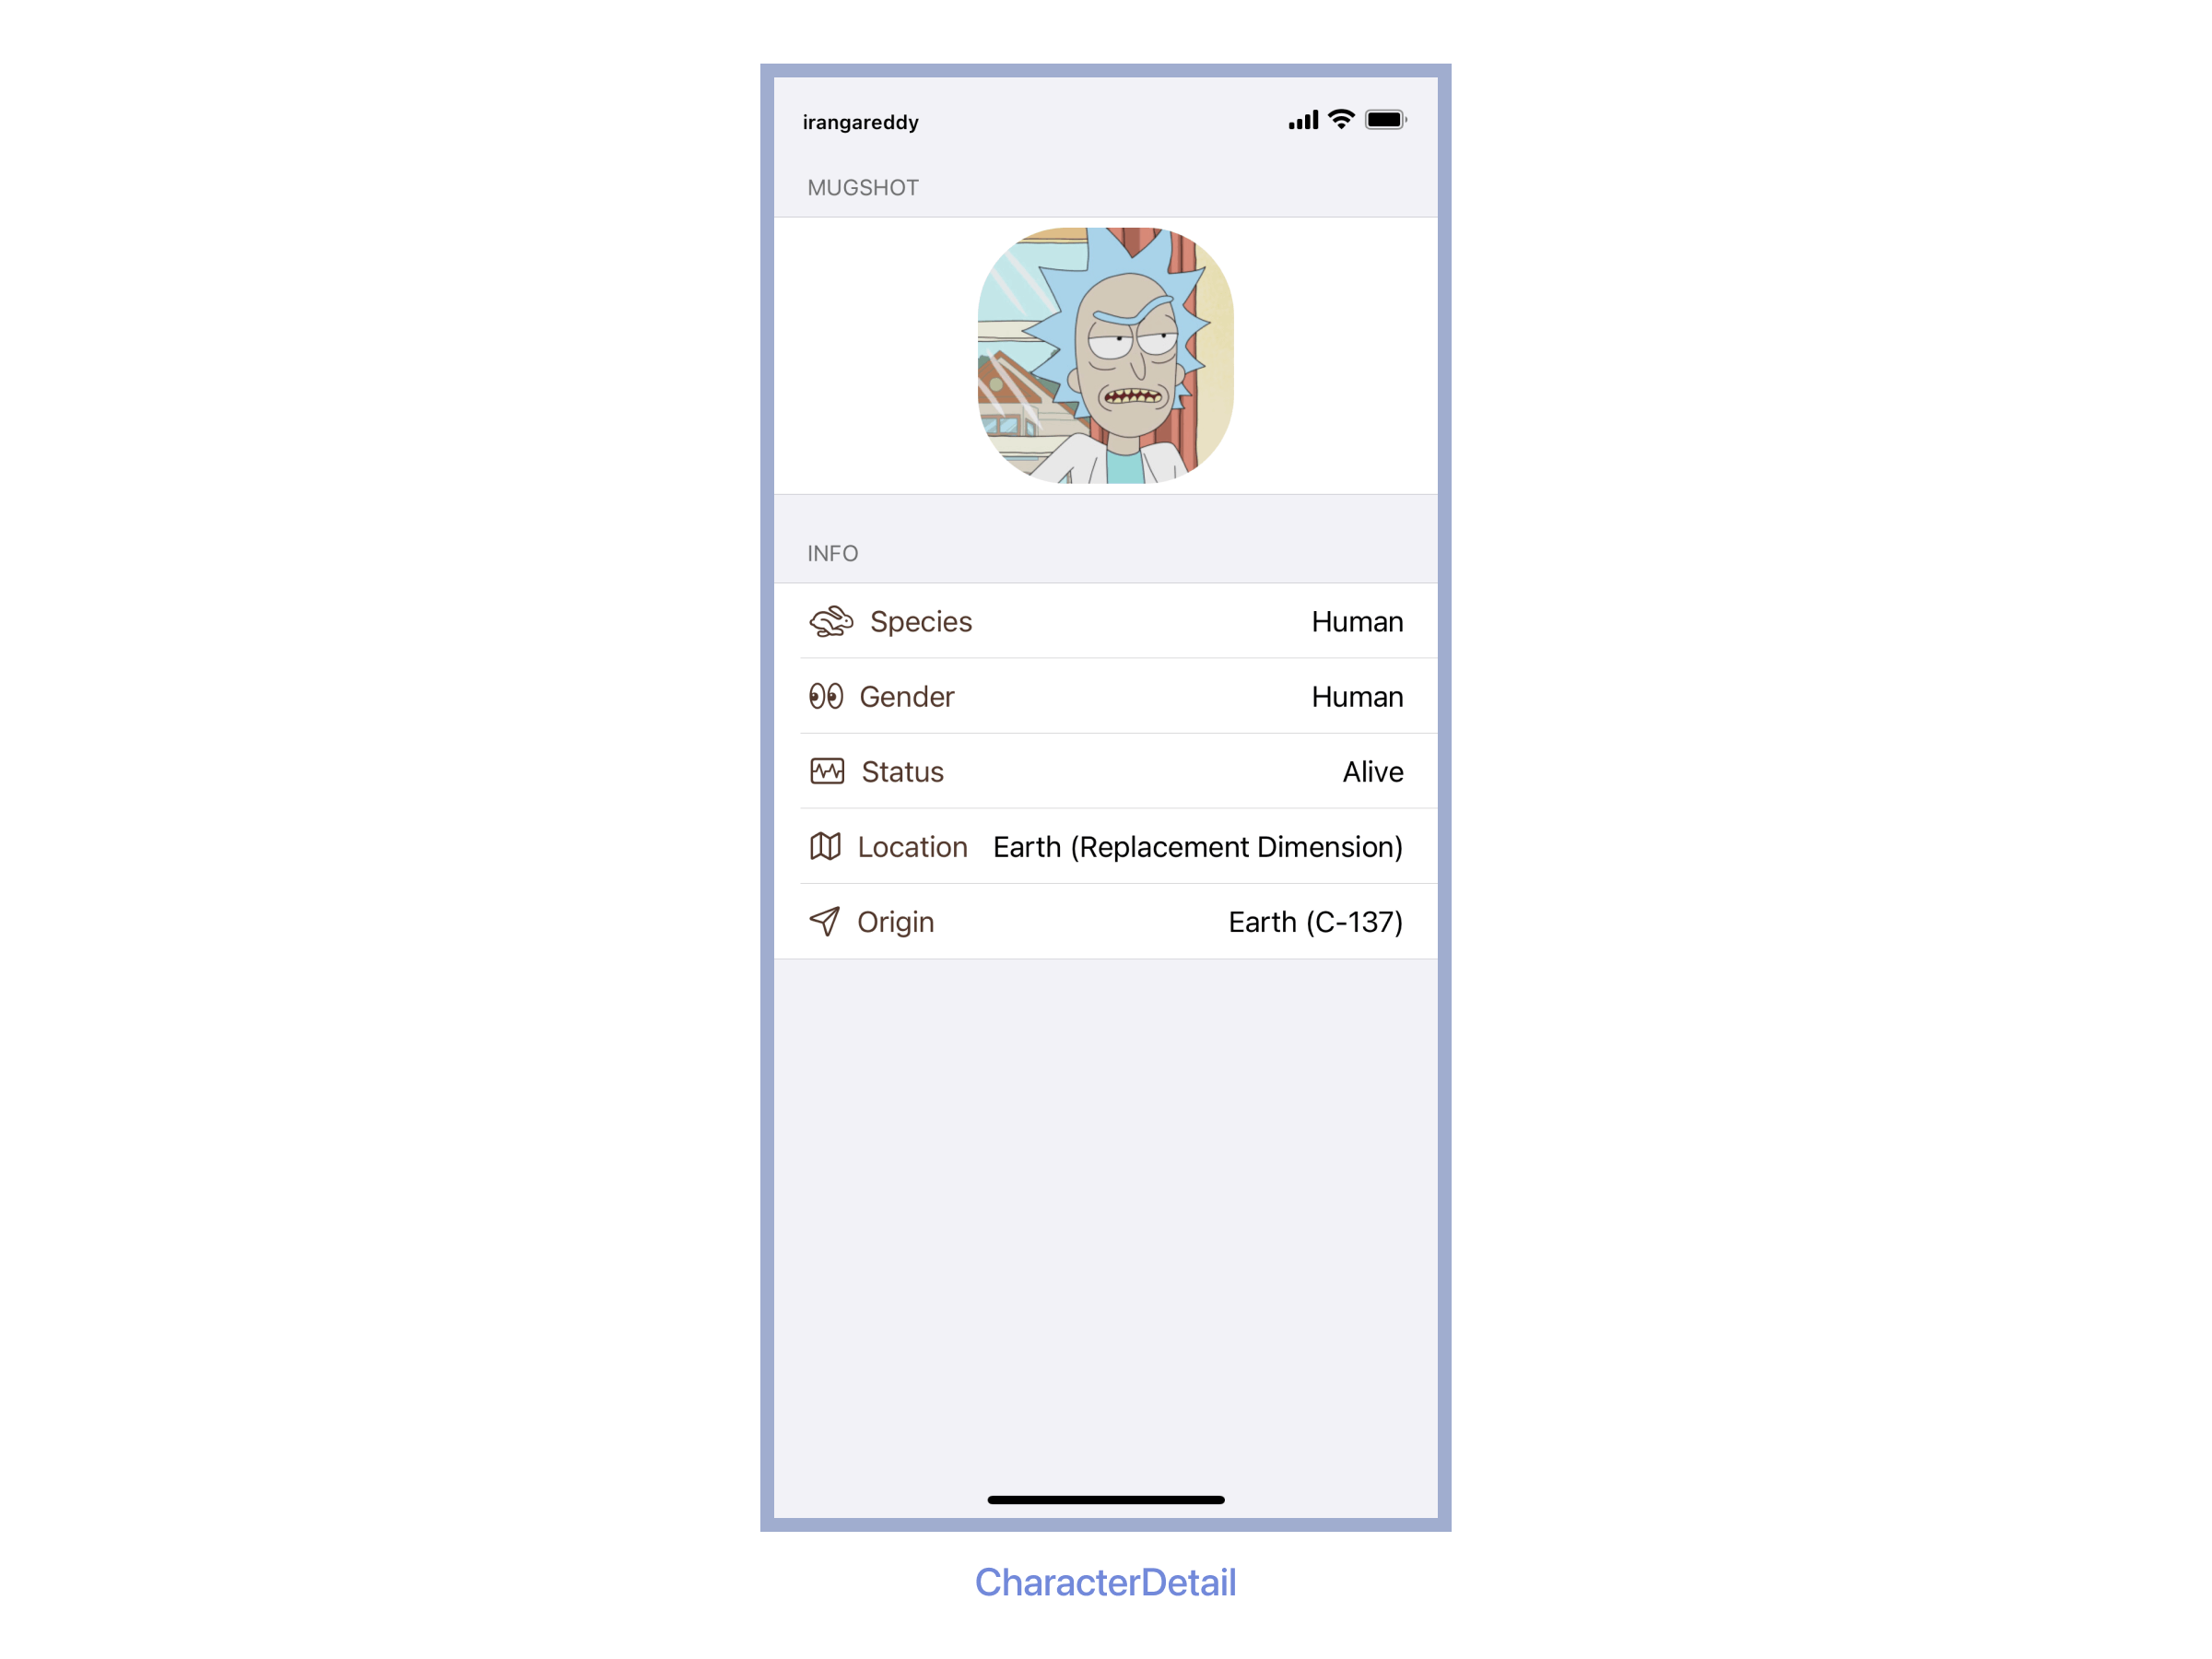
Create a Detail View
Create a CharacterDetail View that can show the Character Details and copy the following code to the file.
import SwiftUI
import SDWebImageSwiftUI

struct CharacterDetail: View {
    // 1
var character: RMCharacter

var body: some View {
    List {
      // 2
      Section(header: Text("Mugshot"), content: {
        HStack {
         Spacer()
         WebImage(url: URL(string: character.image))
          .resizable()
          .scaledToFit()
          .frame(width: 150, height: 150, alignment: .center)
          .clipShape(RoundedRectangle(cornerRadius: 52.0), style: FillStyle())
         Spacer()
        }
       })

        // 3
      Section(header: Text("Info"), content: {
       CharacterInfoRow(icon: "hare", title: "Species", value: character.species)
       CharacterInfoRow(icon: "eyes", title: "Gender", value: character.species)
       CharacterInfoRow(icon: "waveform.path.ecg.rectangle", title: "Status", value: character.status)
       CharacterInfoRow(icon: "map", title: "Location", value: character.location.name)
       CharacterInfoRow(icon: "paperplane", title: "Origin", value: character.origin.name)
       })
       }// 4
       .listStyle(GroupedListStyle())
       .navigationTitle(character.name)

    }
}


struct CharacterInfoRow: View {

var icon: String
var title: String
var value: String

var body: some View {

 HStack{
  Image(systemName: icon)
    .foregroundColor(.accentColor)
  Text(title)
    .font(.body)
    .foregroundColor(.accentColor)
  Spacer()
  Text(value)
     }
    }
}

struct CharacterDetail_Previews: PreviewProvider {
    static var previews: some View {
        CharacterDetail(character: rmCharacters[0])
    }
}
- Add a character as a stored property of CharacterDetail.
- Section that displays the
Mugshotof the character. - Section that displays the character info using a
CharacterInfoRowSubView. - Configuring list to
GroupedListStyle.
Build and run.
Set Up Navigation Between List and Detail
The list renders properly, but you can’t tap an individual character to see that character’s detail page yet. You add navigation capabilities to a list by embedding it in a NavigationView and then nesting each row in a NavigationLink to set up a transition to a destination view.
Change CharacterList by copying the following code.
NavigationView {
  List(rmCharacters,id: \.id) { character in
   NavigationLink(destination:
      // 1
      CharacterDetail(character: character)) {
      CharacterRow(character: character)
     }
    }// 2
      .navigationTitle("Characters")
}
- Inside the list’s closure, wrap the returned row in a NavigationLink, specifying the destination's CharacterDetail view.
- Set the title of the navigation bar.
One final step, change the following code as below in ContentView.
struct ContentView: View {
    var body: some View {
        CharacterList()
    }
}
Build and run.
Hurrah 😃! You have completed building lists using local JSON.
Conclusion
You have learned to create Data Models, loading JSON from a local file, and building Navigation Lists and Navigation to Detail View. F From here, you can replace the local JSON Data with Network Data!
Here is the final code if in case you need it.
If you like to improve your App Development Skills, even more, check out blog.learncodeonline.in. Feel free to connect me on Instagram or Twitter if you have any additional tips or feedback.
I hope you’ve enjoyed this, and Thanks for reading!